


A while back, I deployed my Blazor app to Fly.io for the first time. I’d followed their quick start, typed a couple of commands, and… boom — my app was live. It felt refreshingly simple, like the kind of thing you want to do again.
But after the third or fourth time typing flyctl deploy, I started to get that little itch: “This should really be automated.”
I’m a big fan of keeping deployments boring and predictable — ideally one click, or no click at all. So, I figured it was time to let GitHub Actions take over. Here’s how that went.
Generating the Fly.io API token
Before I could automate anything, GitHub needed a way to talk to my Fly.io account. Without authentication, it’s like sending a package without a return address — it’s not going anywhere.
Fly.io gives you two types of tokens:
- Global tokens – full access to your account and every app you own
- App-scoped tokens – limited to a single app and its resources
I didn’t want to give GitHub more power than necessary, so I went with the app-scoped option. It still allows deployments, but only for the app you choose.
Here’s what I ran to create one with a custom name and expiry:
fly tokens create deploy --name flyio-netOnce I had it, I saved it in GitHub:
- Go to Settings → Secrets and variables → Actions
- Add a new secret named
FLY_API_TOKEN - Paste in the token
For more details, the official docs explain it well: Access Token – Fly Docs
Creating the workflow
With the token in place, the next step was to hook up the workflow.
I dropped a new file into my repo at .github/workflows/fly-deploy.yml and filled it with this:
name: Fly Deploy
on:
workflow_dispatch: # manual trigger for now
jobs:
deploy:
name: Deploy app
runs-on: ubuntu-latest
concurrency: deploy-group # optional: ensures only one deploy runs at a time
steps:
- name: Checkout code
uses: actions/checkout@v4
- name: Set up Fly.io CLI
uses: superfly/flyctl-actions/setup-flyctl@master
- name: Deploy with Fly
run: flyctl deploy --remote-only --config ./fly.toml
env:
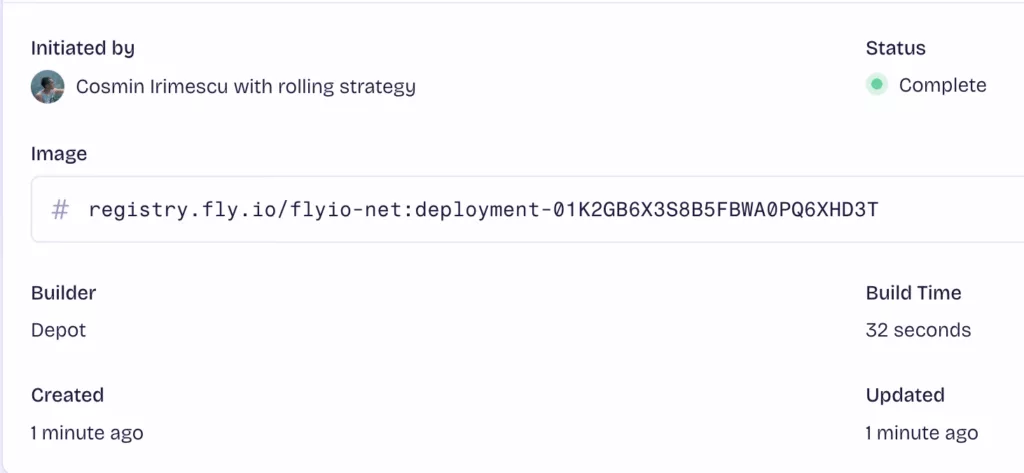
FLY_API_TOKEN: ${{ secrets.FLY_API_TOKEN }}The first time I ran it from the GitHub Actions tab, it felt almost too easy: check out, install the CLI, and deploy — all without me having to touch the terminal.

Wrapping it up
Now my deployments are just a click away. No more switching to the terminal, no more wondering if I forgot a flag. It’s consistent every single time.
Sure, this is just the beginning — I could add tests, staging environments, or even full continuous deployment. But for now, I’m enjoying the fact that my app goes live with almost zero effort.
Sometimes, removing those little bits of friction makes all the difference.
And honestly? I’m here for the boring, predictable deploys.
What about you? Have you tried automating your Fly.io deployments — or maybe you’ve found another tool that makes it even easier?
Share your experience in the comments or reach out to me directly. I’d love to hear what’s worked for you (and what hasn’t).
I’ve published the full source code on GitHub, in case you want to explore or reuse it: FlyIo.NET